Show Prices:
This site uses cookies to give you the best shopping experience on our site. By continuing to use this site, you agree to accept these cookies.
Click here to view our cookie information.
Take a look at our video showing you how to personalise your stampers on the PTS website, or follow the step-by-step guide below.
Our Pre-inked stampers are ideal for busy teachers, and what’s even better is that we have a huge range of personalised ones too!
You may be curious as to how we make yours, so we’re going to show you!
Our website has a large selection of customisable stampers to choose from, with many different sizes and designs available.
For this, I’m going to choose the YST25 image bank stamper.
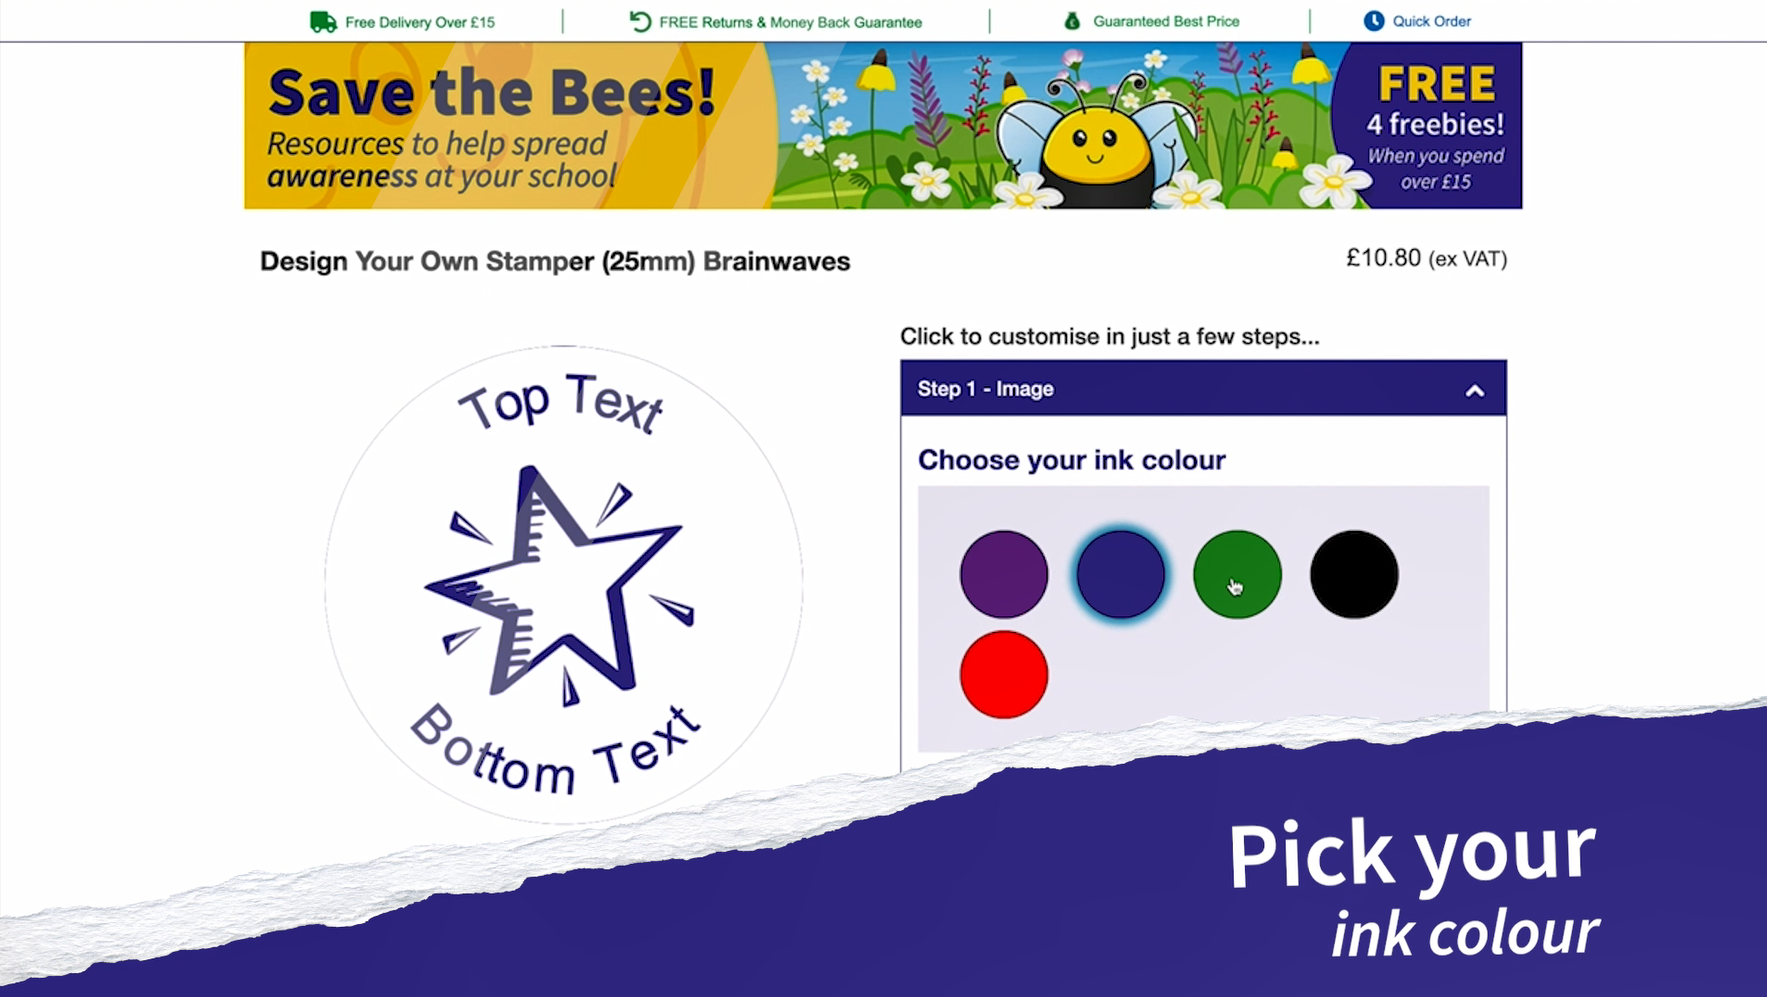
When you navigate to the product page, you will see several options for personalisation on the right-hand side.
First of all, pick your ink colour. We have purple, blue, green, black and red to choose from. All of our stampers come pre-inked with a refillable ink pad built-in.
Once you have chosen this, pick the image that will go in the middle of the stamper. We’ve got a great image bank full of designs that will help your stamper pop!

All of our images are sorted into categories, so you can easily find one that suits your design the best.
After this, you can add the top and bottom text. You can change the font to any of our options and alter the size to suit you.
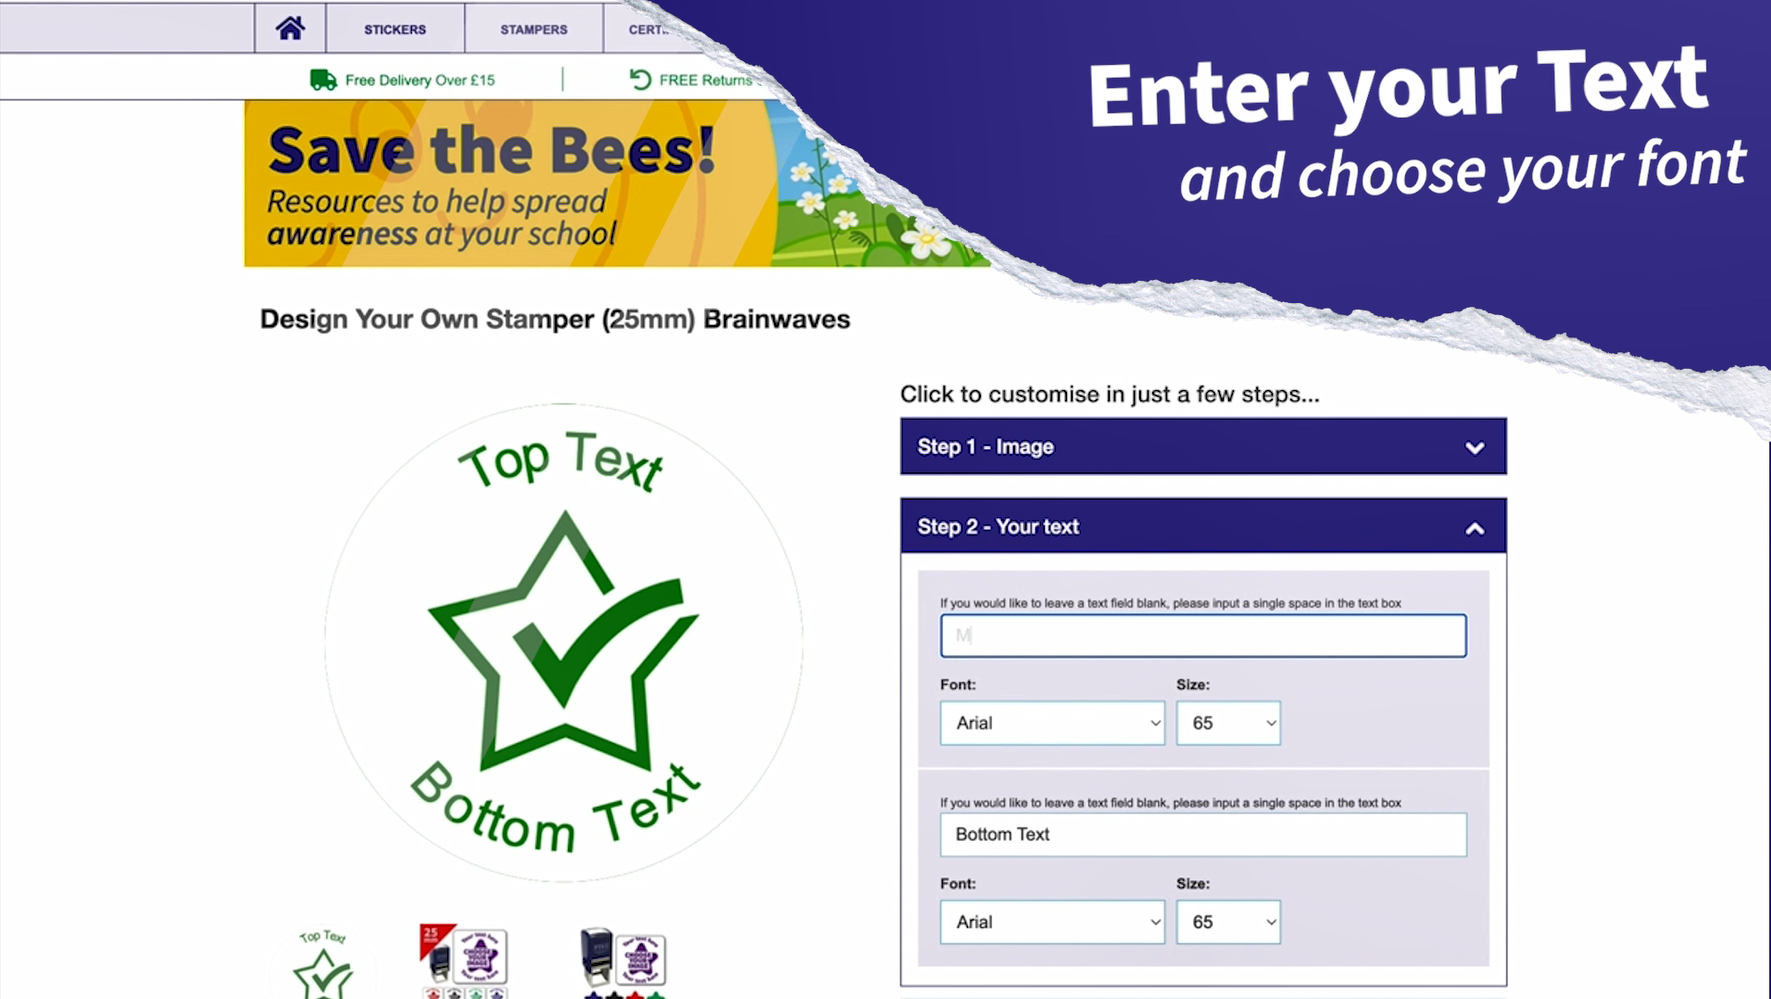
Then add to your basket and checkout!
An image of your design is then sent through to our personalised department who work their magic to create your unique stamper in its self-contained unit.
Then over to our despatch team who ensure its safe delivery to you. Be sure to visit our personalised stamper page for many more design and size options. Visit https://www.primaryteaching.co.uk/teacher-stamps/personalised

